1. Go to the setup file folder and double click on the setup or right click on click open on the setup.

2. Install the prerequisites if its asked and do the required server restart if its ask for restart and open the setup again and you will be the below screen. Click on the Microsoft Dynamics GP on the Install section.

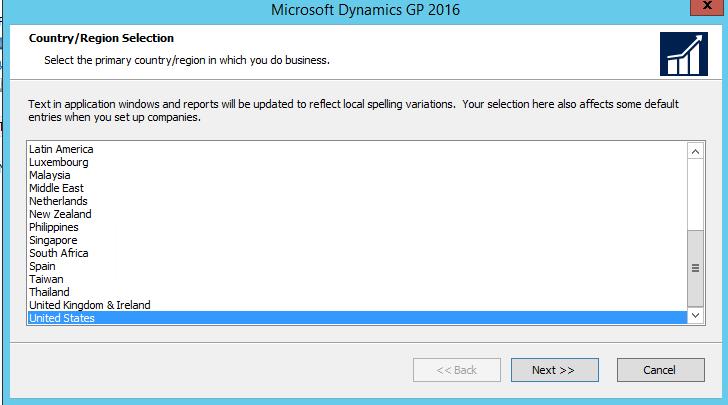
3. Select country/Region and click next.
4. Accept the License Agreement and click next.


6. Enter the SQL server instance name and keep the database name as default DYNAMICS.
If you want to change the database name for DYNAMICS you can enter the custom name and click on next.

7. You will see the screen as below and click on install. It will start the process of installation.
Click on exit and open the GP Utilities.

Note - Creation of Dynamics database after installation follow the steps using next blog.
No comments:
Post a Comment